How to Integrate your chatbot with Zoho using SmatBot?
Chatbot and Zoho CRM integration will help you boost your sales game. With this integration, you can streamline your interactions with customers, automate time-consuming tasks, and close deals faster than ever before.
So, if you’re looking for ways to integrate your chatbots with Zoho, this guide is all you need.
In this tutorial, we’ll walk you through the steps to integrate your chatbot with Zoho using SmatBot.
Now, let me give you a quick overview of SmatBot:
SmatBot is your one-stop platform for all chatbot solutions. SmatBot is everywhere, whether it is Facebook, WhatsApp, Instagram, your website, or a landing page, allowing you to automate your communication.
It is a powerful and leading AI chatbot-building platform that can help you quickly develop a customizable chatbot that you can easily integrate with Zoho CRM.
The best thing about SmatBot is that it is a no-code, beginner-friendly platform that doesn’t require any coding knowledge to use.
So, without wasting any more time, let’s discuss the steps.
Here are the steps to integrate your chatbot with Zoho using SmatBot
Follow the below-mentioned steps to integrate a chatbot with Zoho CRM using SmatBot.
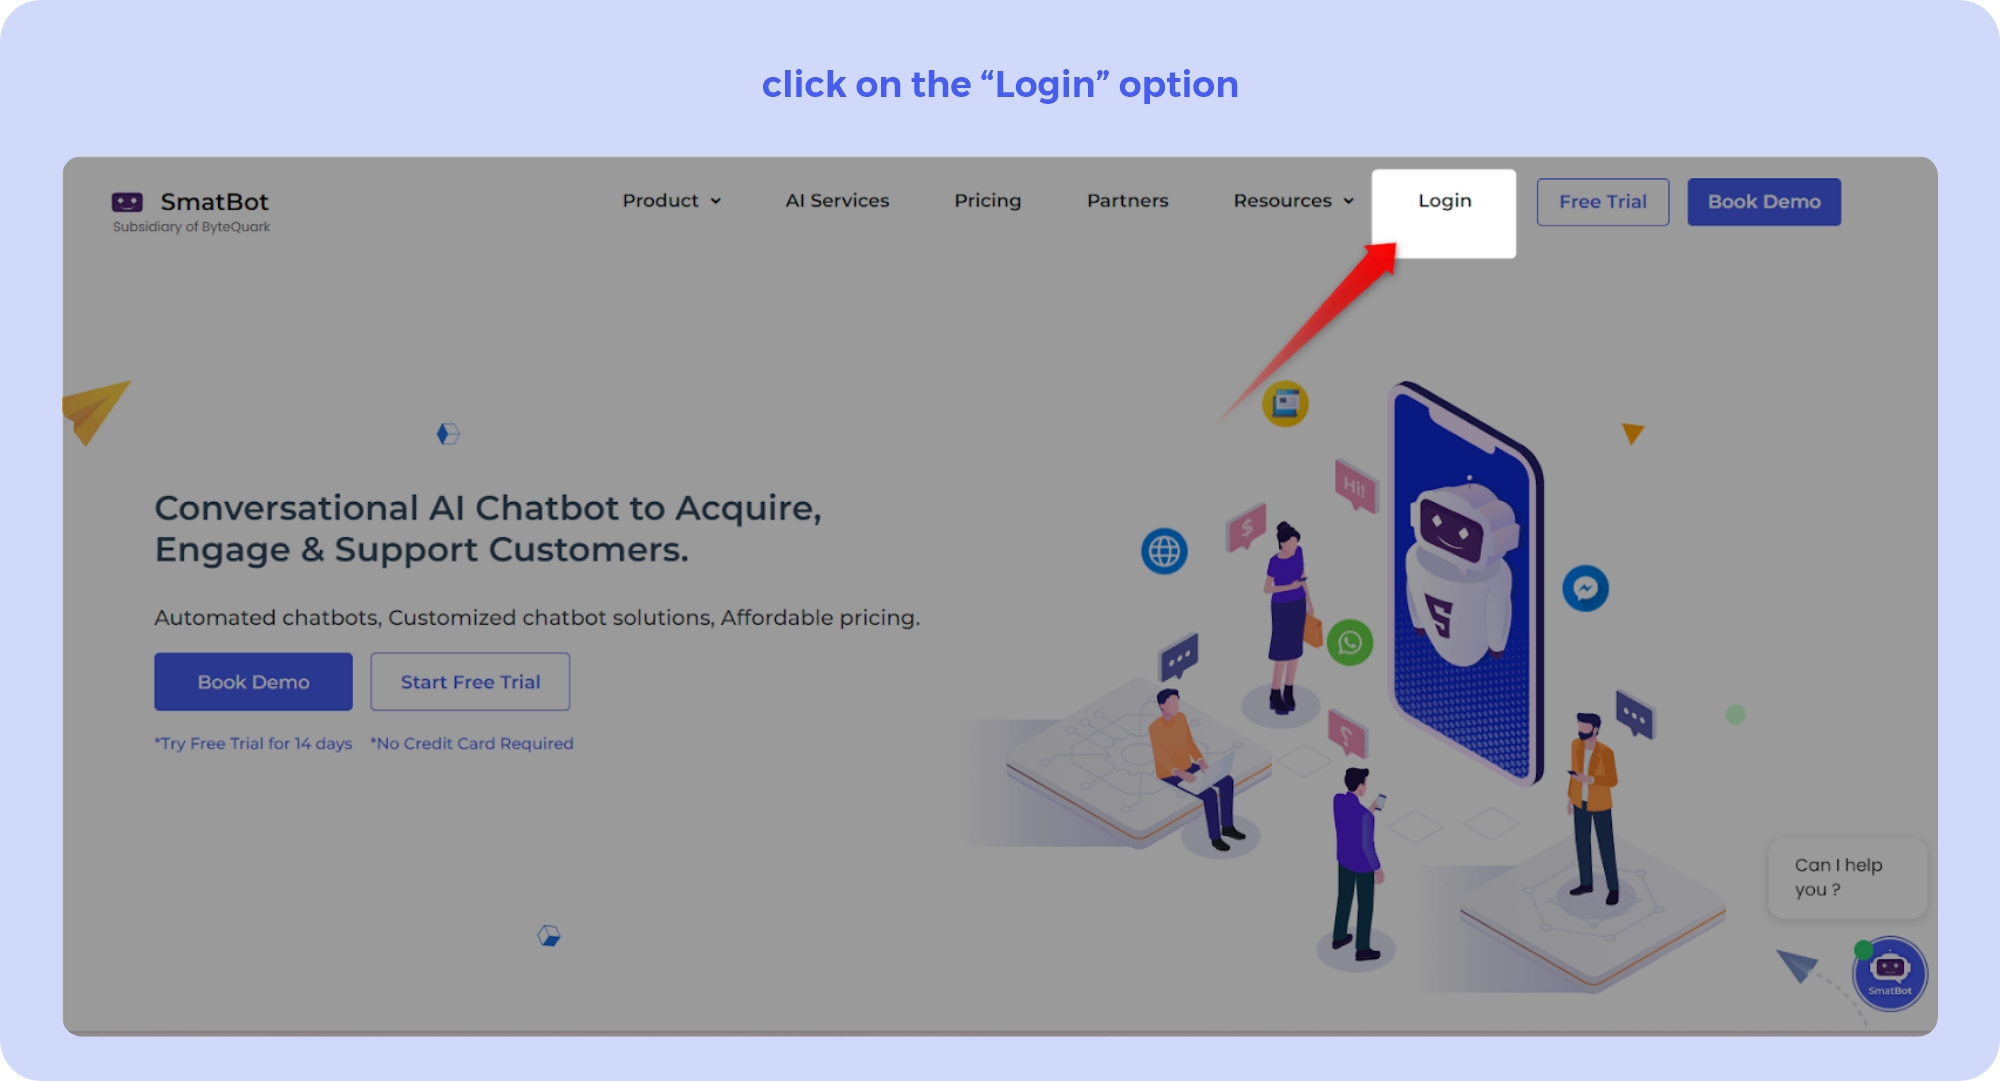
Step 1: Log in to the SmatBot Dashboard
Visit “https://www.smatbot.com/” and click on the “Login” option.
Note: If you are visiting SmatBot for the first time, then you will need to sign up first and create a chatbot.
You can refer to this tutorial to build a chatbot with SmatBot.
Or, you can skip this step and move directly to the next step if you have already created your chatbot with SmatBot.
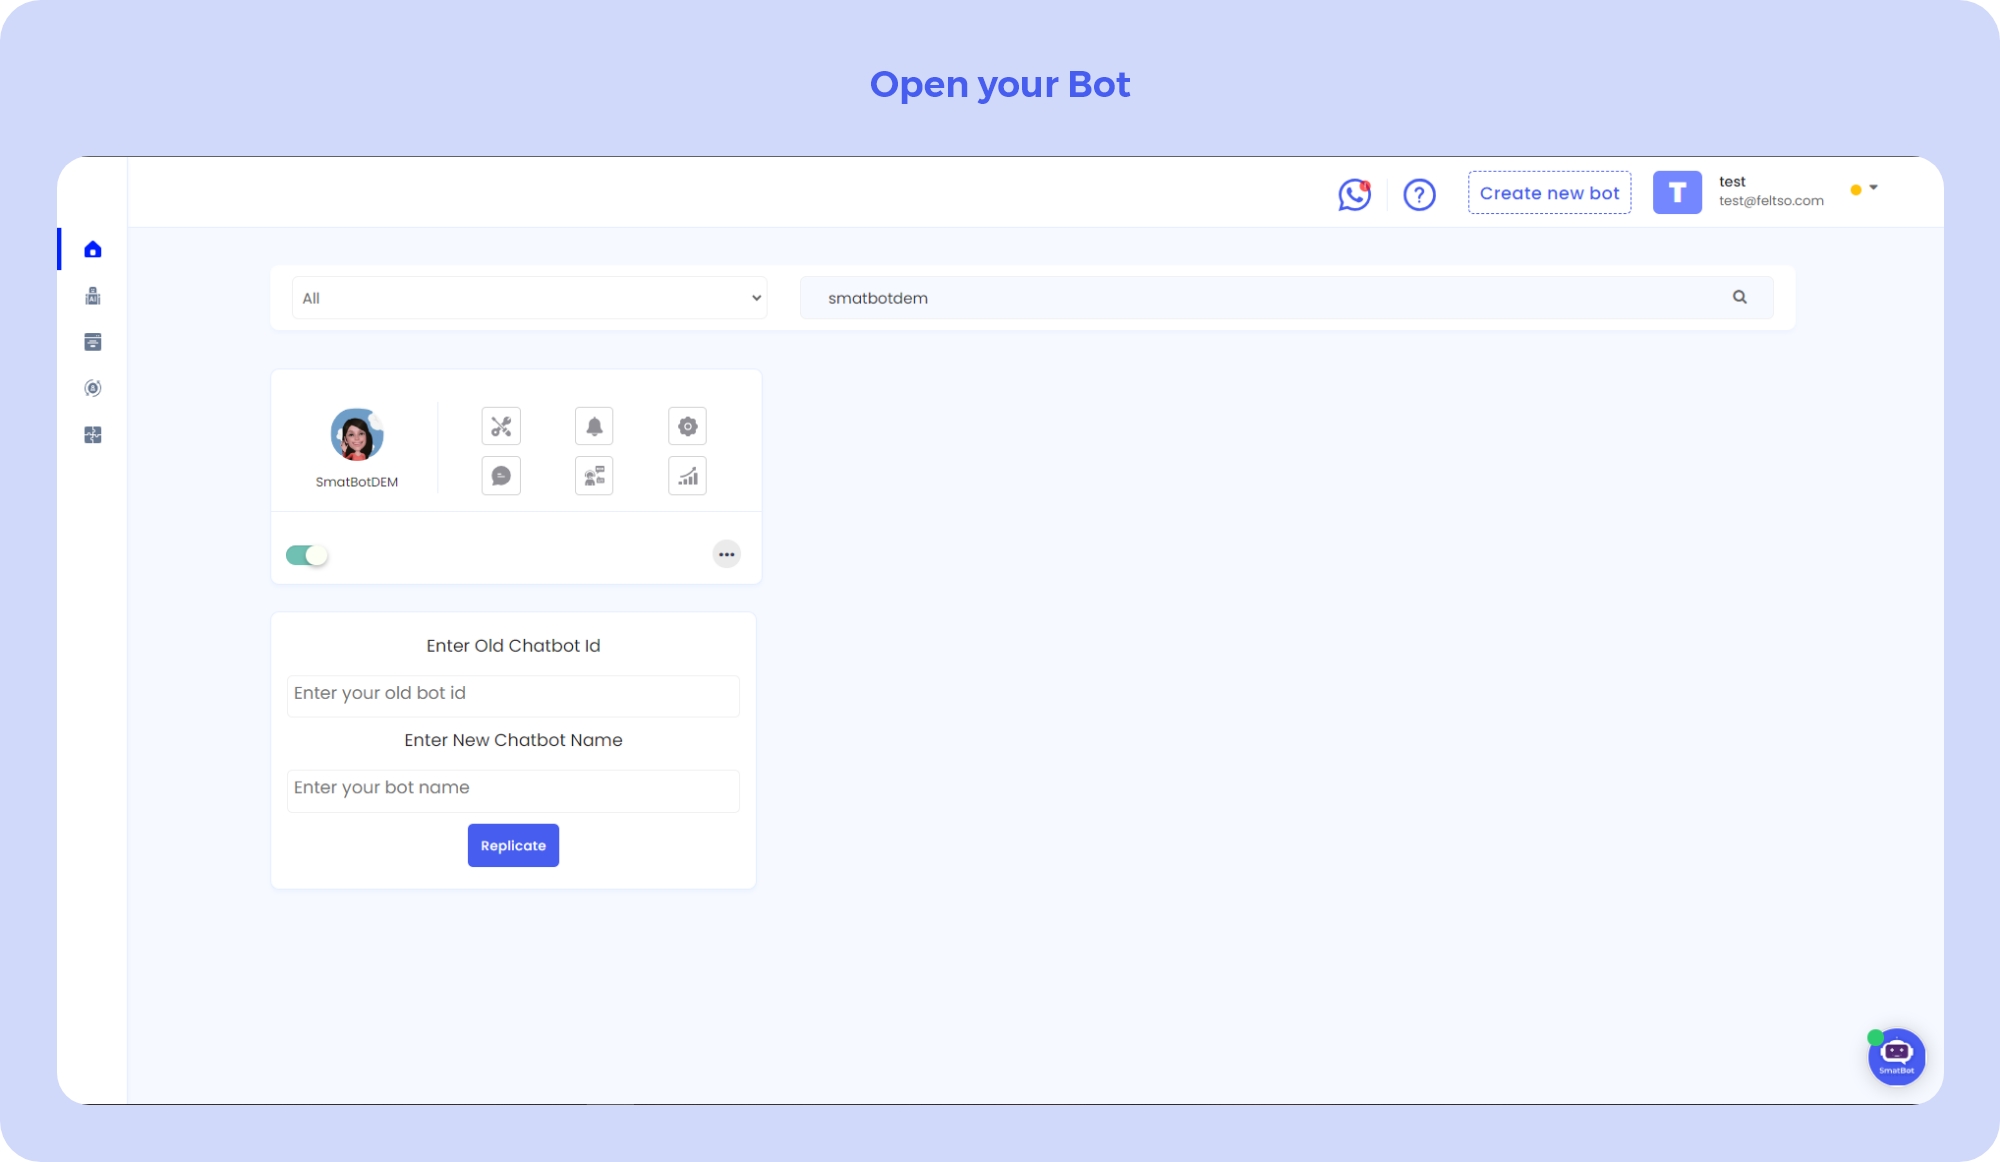
Step 2: Open your Bot
Once you enter the dashboard, you will find the chatbot that you created earlier. Open it.
Step 3: Go to Triggers and Navigate to the CRM Integration Section.
Here, you will find multiple options, but you just need to click on the “Triggers” option.
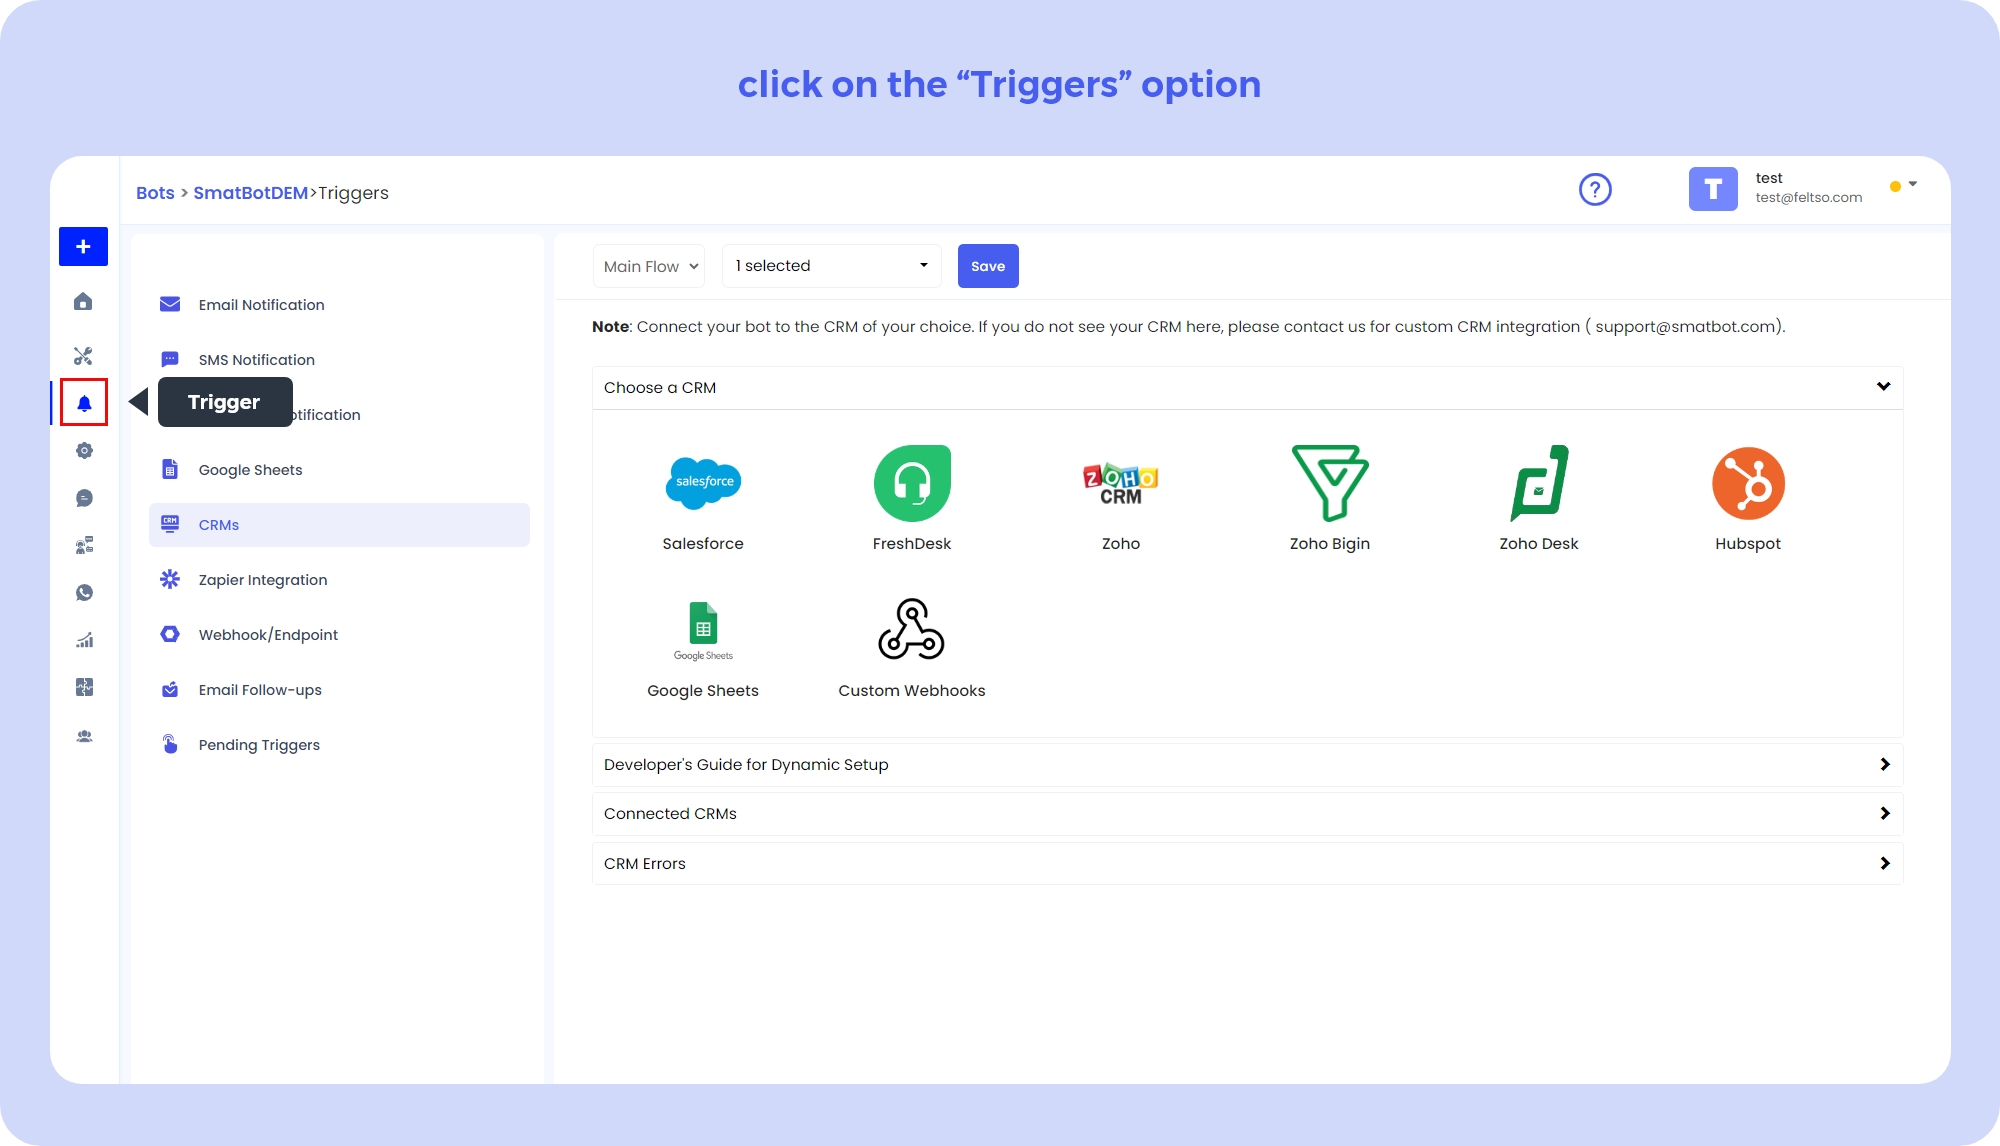
This will redirect you to the next window, where you will need to select the “CRM” option.
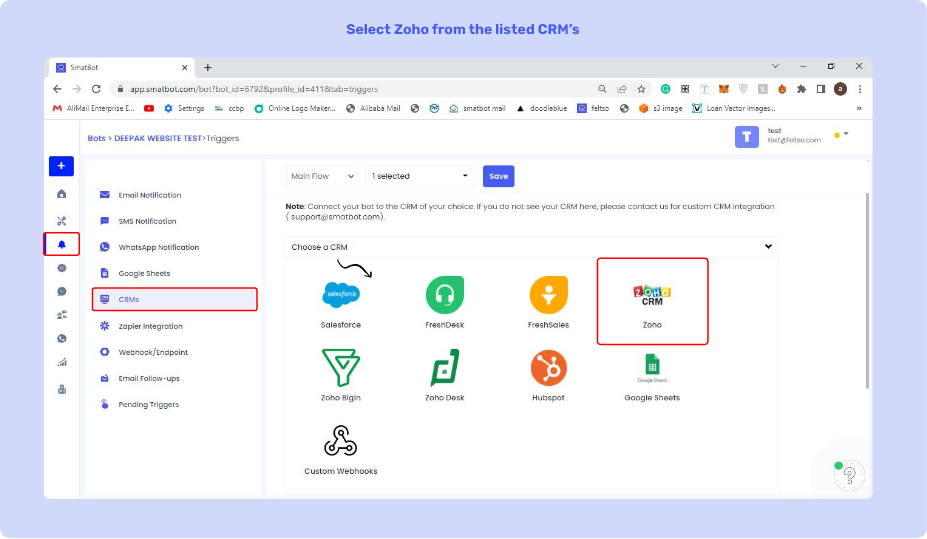
Step: 4 Select Zoho CRM and Connect your Account.
Once you click the CRM option, you will get a list of different CRM platforms like Salesforce, Zoho, Hubspot, etc. Here, you will need to pick “Zoho” and click on the “Connect an Account” button.

Step 5: Accept The Permissions
After clicking on the “Connect an Account” button, a popup window will open up, asking you to accept the required permissions. By accepting these permissions, you allow SmatBot to access your Zoho account data.

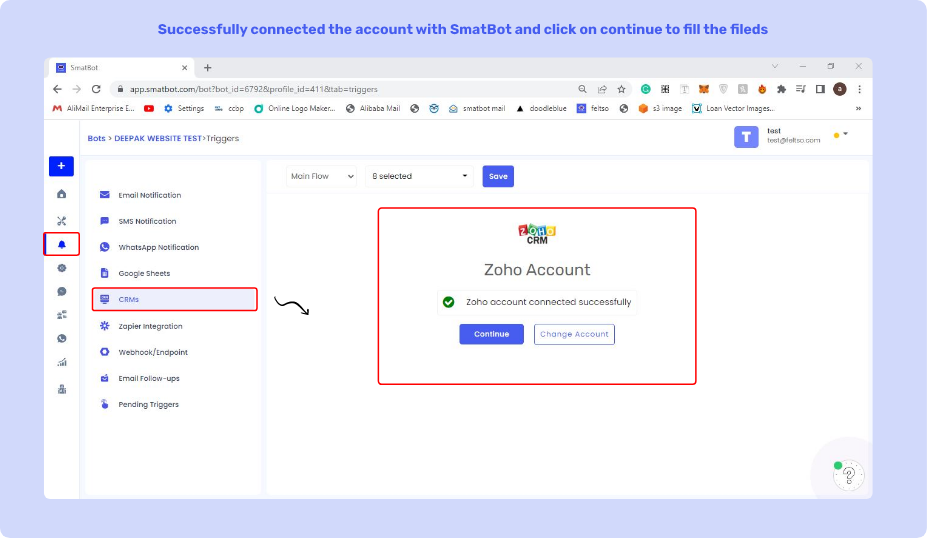
Congratulations! You have successfully connected SmatBot with your Zoho account.
Step 6: Set Up The Triggers
The next step is to set up the triggers and assign the chatbot conversations to the respective CRM fields. For this, you will need to click on the “Triggers” icon, then navigate to the “CRM” tab, and finally click on the “Continue” button.
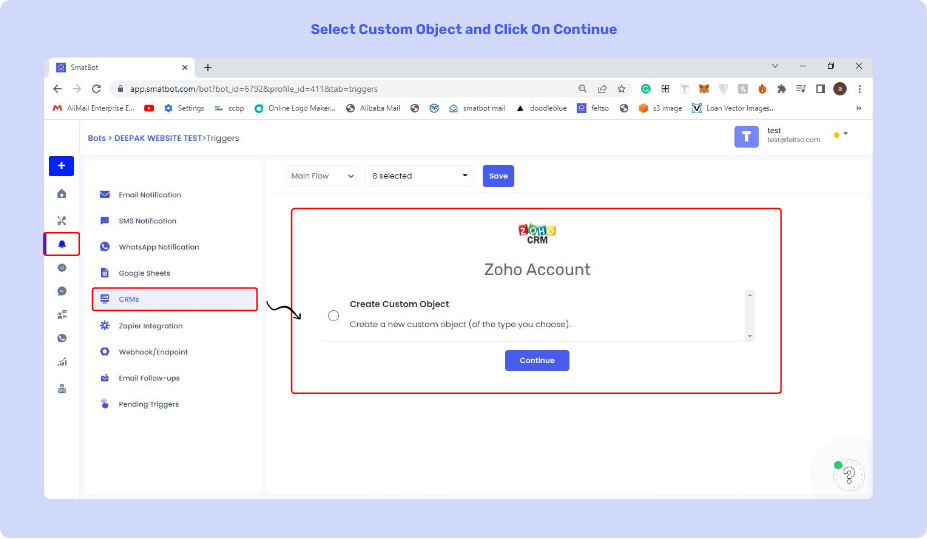
Step 7: Create a Custom Object
Now, you will be redirected to the next window, where you will need to select the ‘Create Custom Object’ option and click on the “Continue” button to push the leads to your respective Zoho Objects or modules.
Step 8: Search For Your Module And Then Select A Zoho Module.
In the next step, you will need to choose a Zoho module, for this, simply search for the module from the drop-down list and then select your desired Zoho Module.

For example:
To create a lead in Zoho CRM, go to the “Leads Module” and click the “Continue” button.
To assign values to your Zoho modules, you have to fill in the relevant fields with Bot Question Types.
Field Types:
- Question: To fill a field in your CRM, you must use the response provided in response to a specific SmatBot question. For example: To populate the mobile number field in your CRM, pick the question where the user can enter their mobile number.
- Static Text: You can use static text to enter a value into a field in your CRM that needs to be set to a default or preset value.
- Data Composition: In your Zoho CRM, you can assign static fields, multiple questions, or a combination of both to a single field.
- Email: An email will be pushed to your CRM whenever a user enters their email in one of the chat flows.
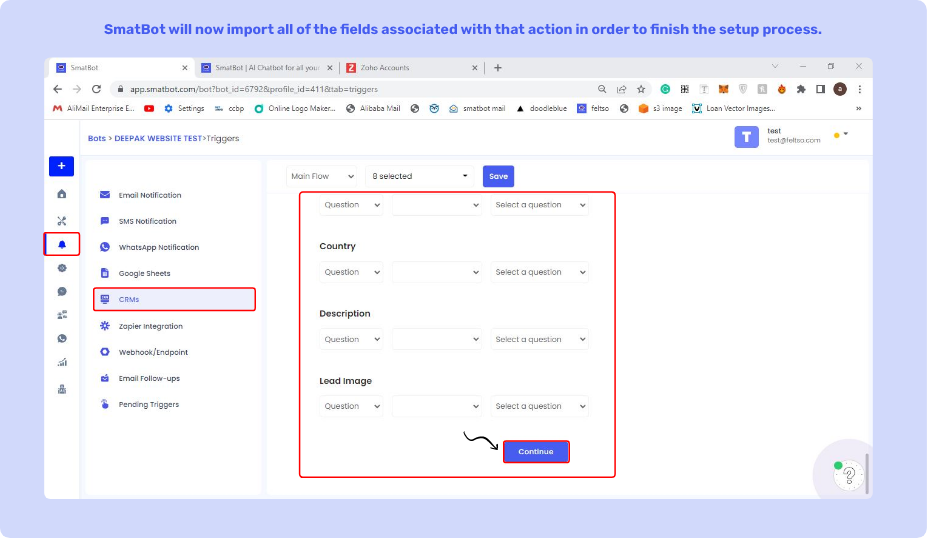
Step 9: Click the Continue
Click on the “Continue” button once you have finished filling out all the required fields.
Step 10: Name Your Integration
Once you’ve completed the setup, you must name your integration and then click on the “Save” button to save your changes.
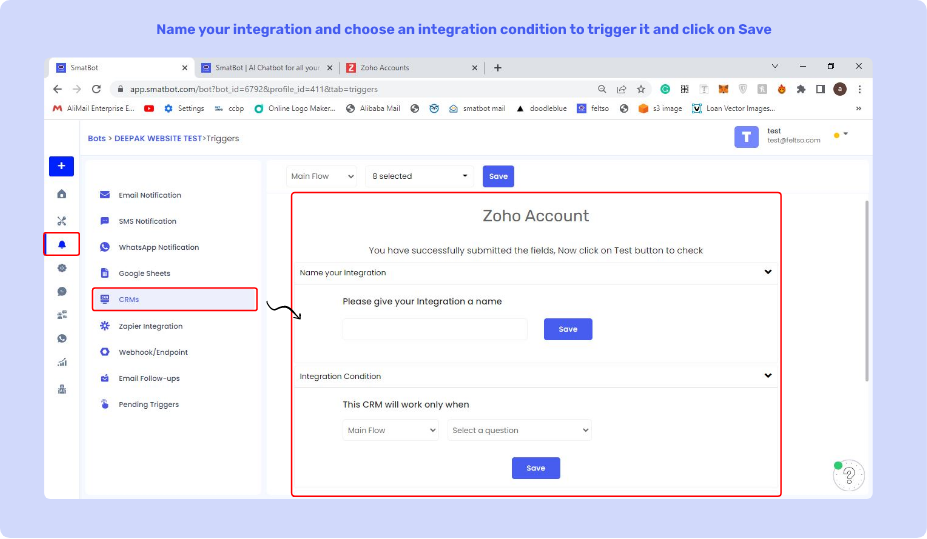
Step 11: Choose the Condition
Now, you have to choose the condition that will trigger the integration and push the data to your Zoho CRM.
Note: If you don’t have any such conditions, you can leave this field blank.
Step 12: Test your Integration
Now, to check that your integration is working fine, you can test it by simply clicking on the “Test” button.

Once, you are done with the testing, click on the “Finish” button to complete the setup.
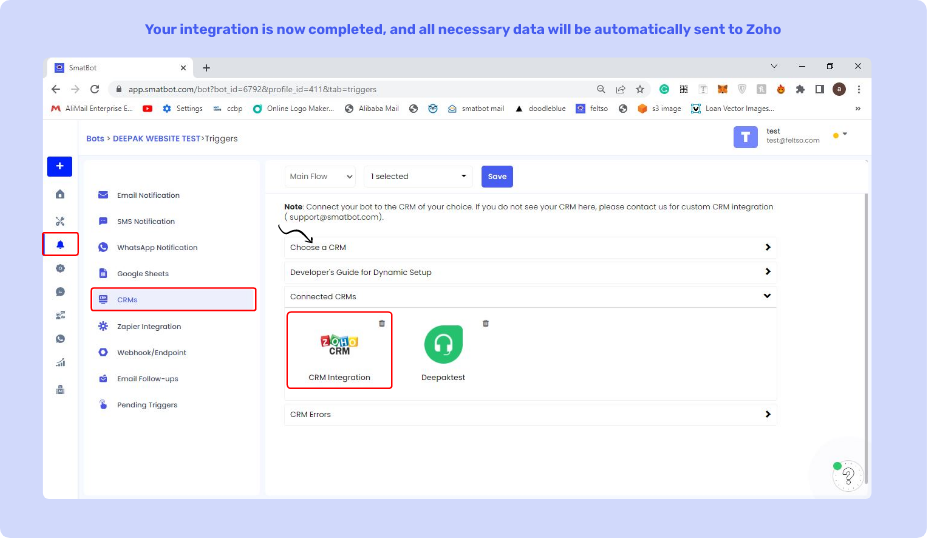
Congratulations! You have successfully integrated your chatbot with Zoho CRM using SmatBot.
Note:
Suppose you want to push leads from two different bot flows to a different module in your Zoho CRM. In that case, you will have to create a whole new CRM Integration and follow all the aforementioned steps.
Here’s the Developer’s Guide for Dynamic Setup
The first step is to install the chatbot on your website or dashboard.
Next, you will need to set up the user’s first name, last name, email address, and mobile number using the functions listed below.
- To set the user’s first name: Use the function – window.botWidget.setUserFirstName(‘First Name’)
- To set the user’s last name: Use the function – window.botWidget.setUserLastName(‘Last Name’)
- To set the user’s phone number: Use the function – window.botWidget.setUserPhone(‘9999999999’)
- To set the user’s email: Use the function – window.botWidget.setUserEmail(‘email@gmail.com‘)
Note: Remember to set these values before the chatbot opens up.
These values can be used in dynamic questions to change the flow, or they can be sent to your CRM software.
Conclusion
That’s it! Now you know how easy it is to integrate your chatbot with Zoho CRM using SmatBot.
In this post, we have shared a step-by-step guide on “how to integrate your chatbot into Zoho using SmatBot”. As you can see, the process of integrating a chatbot into Zoho CRM using SmatBot is really easy. You will just need to make a few settings, and you are good to go.
With this, we are wrapping up this tutorial. We hope you’ve enjoyed this information. If you have any further questions or need assistance integrating your chatbot with Zoho CRM, please contact us at support@smatbot.com.